A Mini Calendar Stand + Printable: 2021 Update

I thought I’d share this post again with a new printable for 2021. Sorry it’s already February, but better late than never.

Tutorial is below and the new printable is here:

I’d love to see if you’ve made one. Tag it with #mugmakes to share!


What better a way to start the new year than with a new calendar. Using my new favorite supply, the craft stick, I created a small calendar stand and designed a month-at-a-glance calendar printable that is ready to download below.

supplies

Keep on reading…

Mug Makes! A Vintage Hook and Latch

It took me a while to settle into the lazy days of quarantine, but once I did, I discovered a longing to enhance home, for it is where we are spending all our time. I found a comfort in nostalgia, and a search for a childhood hobby on Ebay and Etsy uncovered this…

I knew it would not only provide something to keep me entertained and quench my thirst for a new project, but it would also create something that would enhance home and heart.

So this…

turned into this…

I didn’t keep track of how long it took to complete, but I have gone through 3-1/2 seasons of “Scandal” on Hulu, if that’s any indication.

Here it is hung in our dining room.

That’s Big Chew, by the way. I think the hook and latch compliments him nicely, 70’s era and all.

So now I’m sort of on a kick, much to Mr. Mug’s chagrin. He prefers to keep our retro house decor to a minimum.
(Consider this a preamble to the needlepoint pillow saga that we’ve had for the bulk of our marriage :).)

Here is my new procurement from ebay…

When I opened the box and saw those bundles of yarn, a wave of nostalgia hit me. Sitting in my parent den as a kid working on a project while “Little House on the Prairie” or “Love Boat” was showing on the 40 inch honking tube TV.

Ah, memories.

Mug Makes! A Bathroom Tile Sign

The Mugs visited Portugal last August for a family wedding. While there I saw these wonderful tiles that I knew I had to bring home and use to make a sign for our bathroom.

tiles-straight

I used some simple supplies I had in my arsenal…

supplies

Wood trim, wood craft stick, white glue, miter box and saw, chipboard for the backing.
I also used a ruler, pencil and stain for finish.

With some simple measuring and miter cuts, sanding for a clean fit, glueing and staining, I was able to frame out the tiles and created a sweet little sign to prop up in the bathroom.

in-bathroom-1

It’s also a fun reminder of our trip to Portugal. I love having souvenirs from destinations we visited. It’s even better when it can be something that I had a hand in making.

in-bathroom-2

Mug Makes! Framed Fortunes

finished2

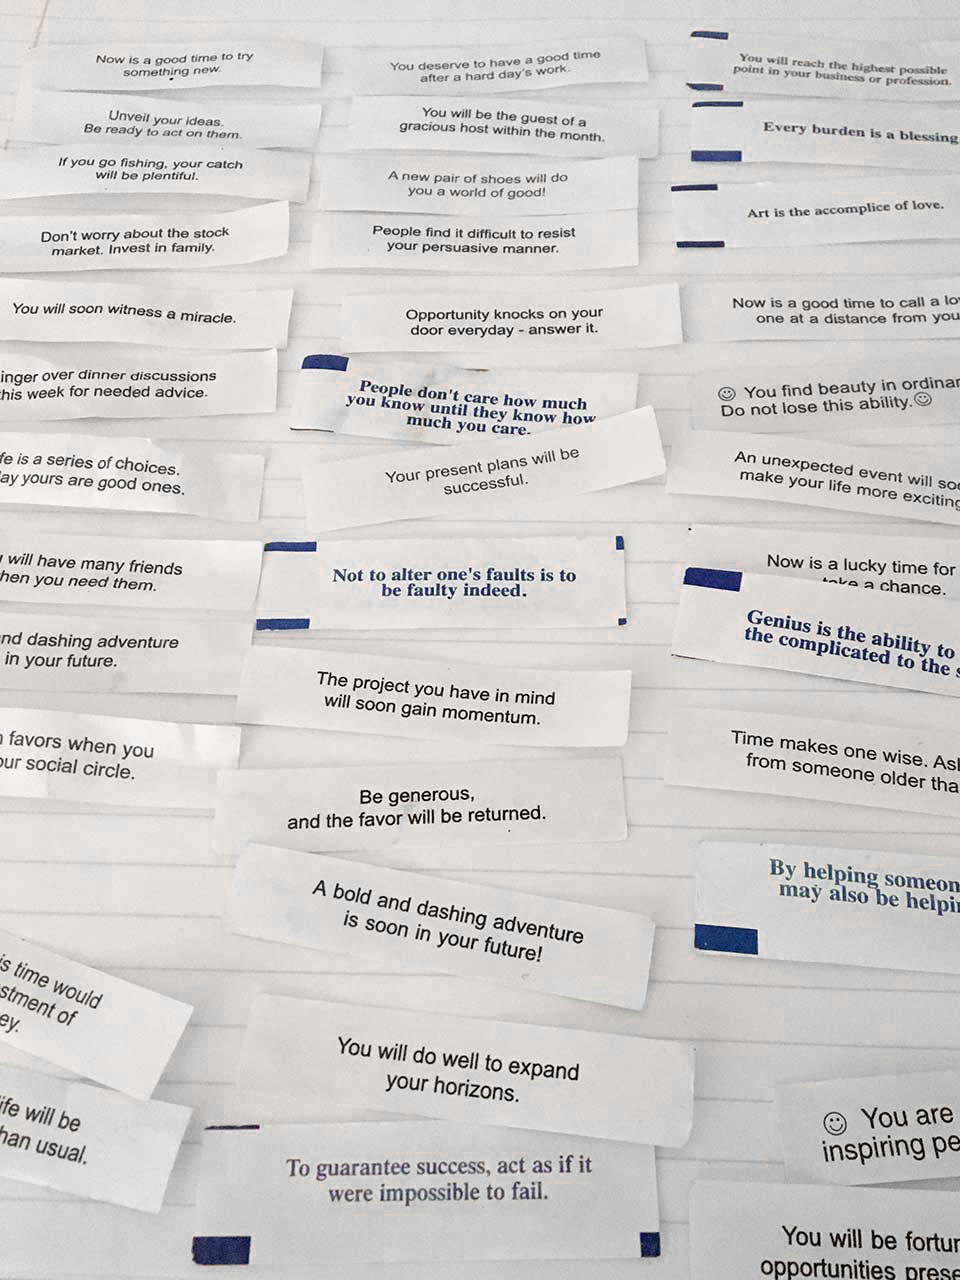
I’m baaaack. After quite a hiatus I wanted to get back to making, and this was a project I’ve wanted to do for a while. If you’re like me, you save the fortunes from your cookies that strike a cord, evoke positivity or a smile. Over the years I’ve save a lot…

fortunes-1

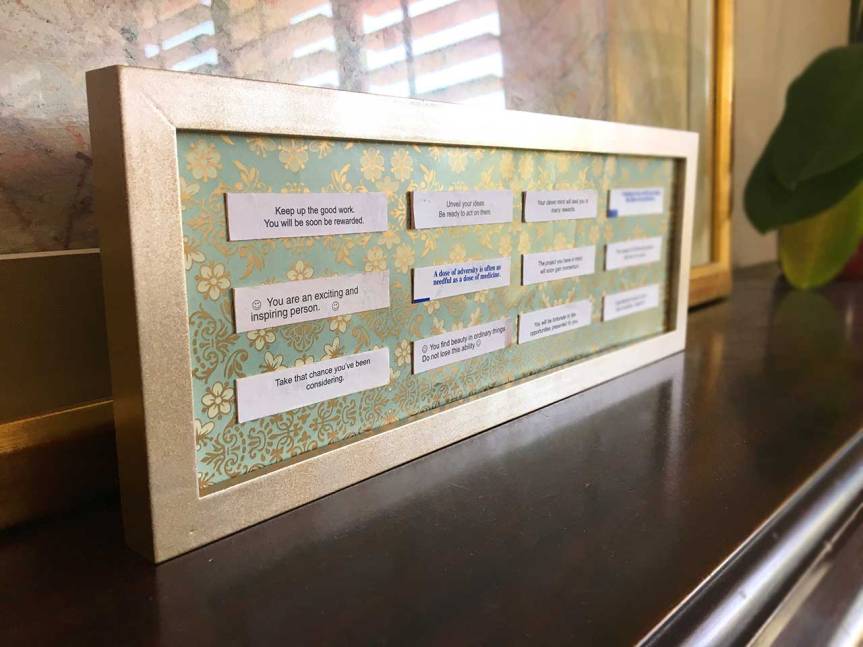
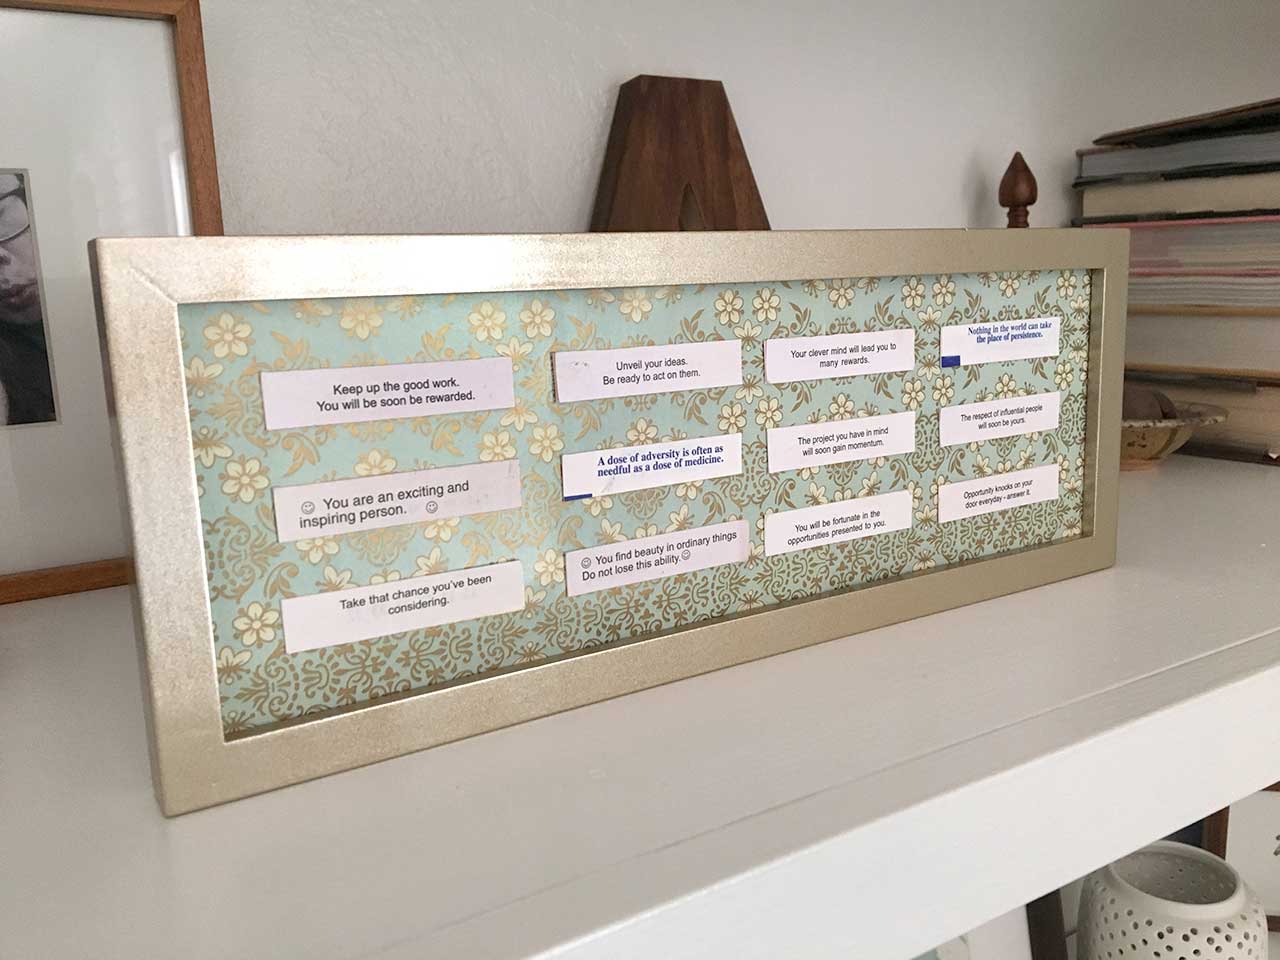
I thought it would be fun to display them in some fashion, so why not in a slick gold frame with some pretty patterned paper.

supplies

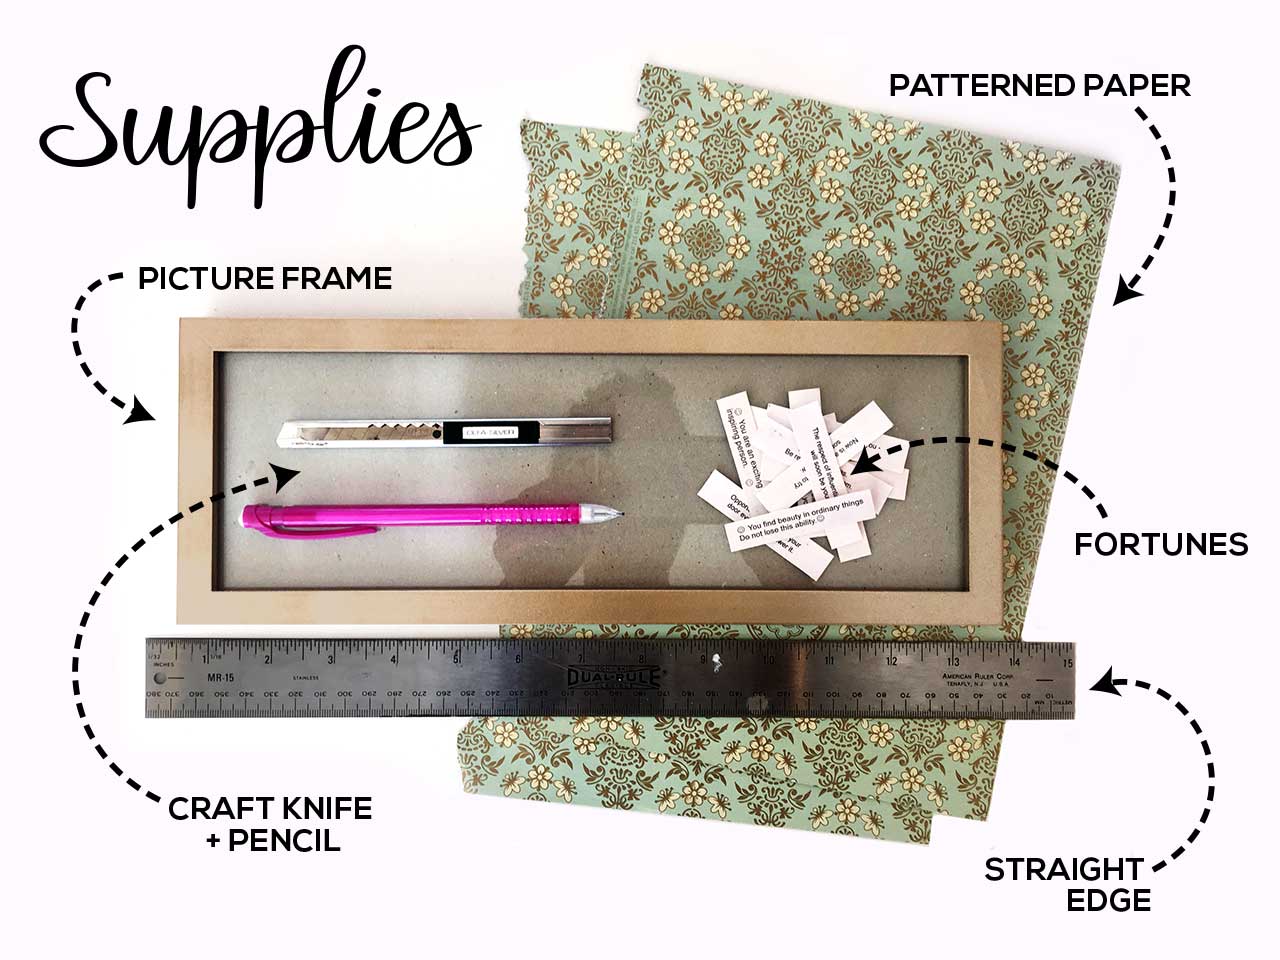
I chose a 9 x 12″ panorama frame I already had. It was a reddish wood, but I sprayed it gold.

frame-before

I also had this patterned paper for years in my paper folder (a place where I store papers I’ve found that I think I may eventually use in a project, so once every few years makes it worth it ;)). I cut it to fit into the frame, using the cardboard insert as a guide.

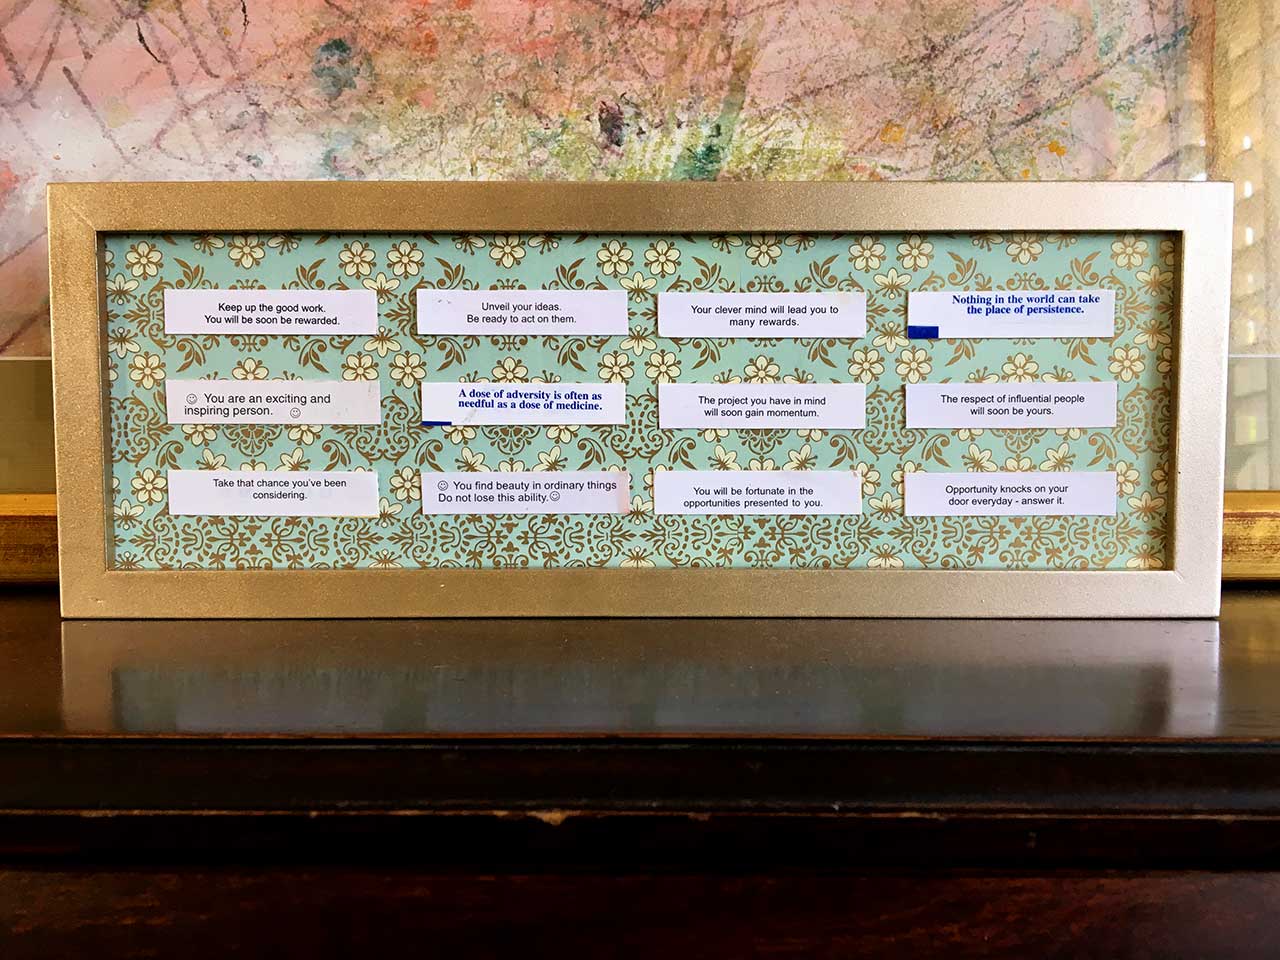
I laid out all the fortunes I’ve collected and chose the 12 that I thought spoke to me the most.

fortunes-2

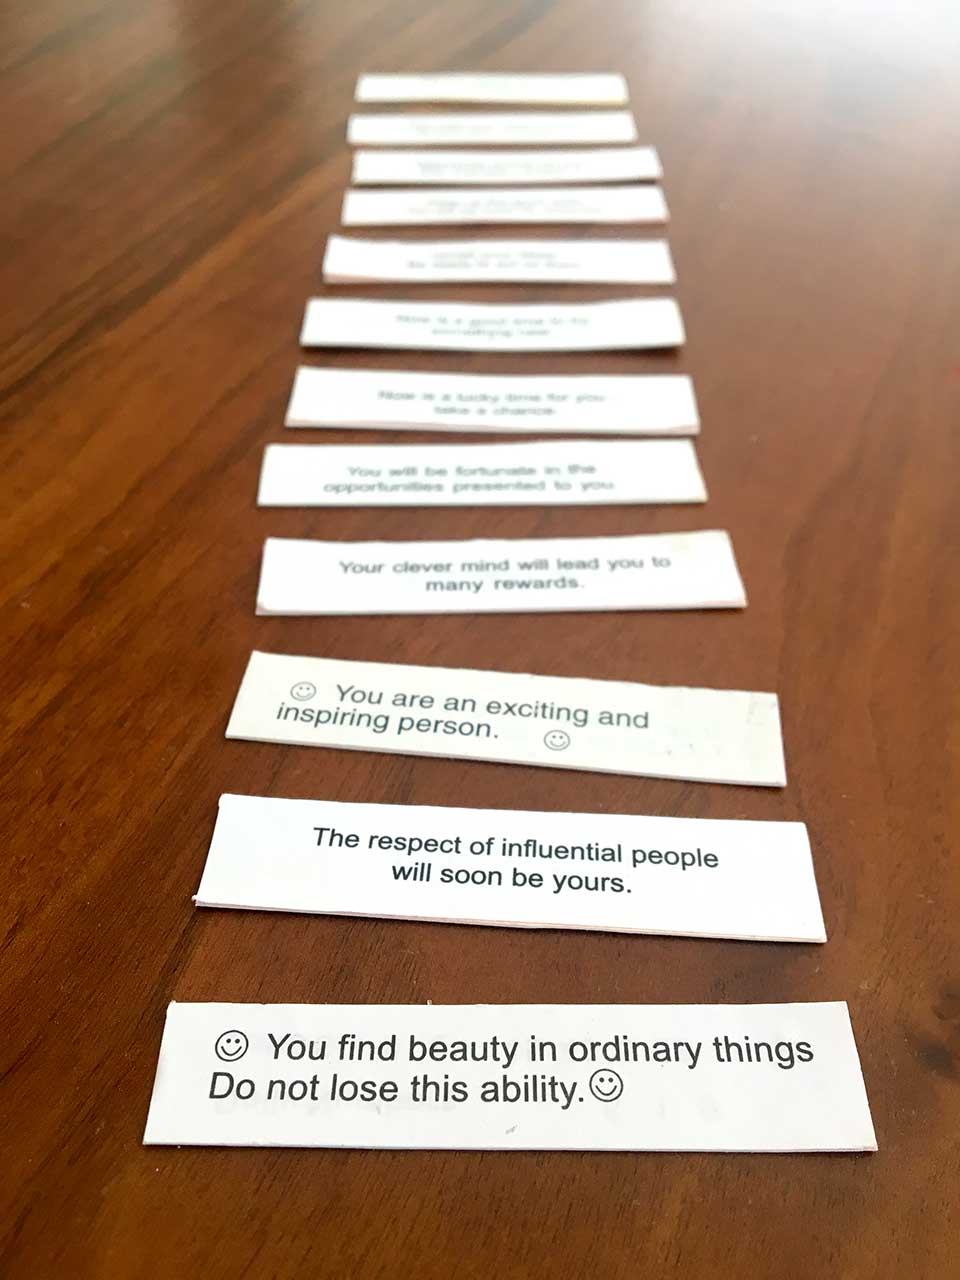
I loosely placed them where I thought I’d like them to go and then measured to get approximate spacing.

I created a template in Illustrator that I could use to guide my placements.

You can download the template if you’re using a 4 x 12″ frame as I did. It prints on 8-1/2 x 11″ paper and you’ll see how to place it below.

template.pdf

I used paper clips to keep the template placed on my patterned paper, and applied my adhesive to the back of the first fortune.

I placed the fortune, using the cut-out in the template as my guide.

I continued this for the left side, my first 6 fortunes.

I then removed the template, flipped it for the other side of my lay out and continued until all were placed.

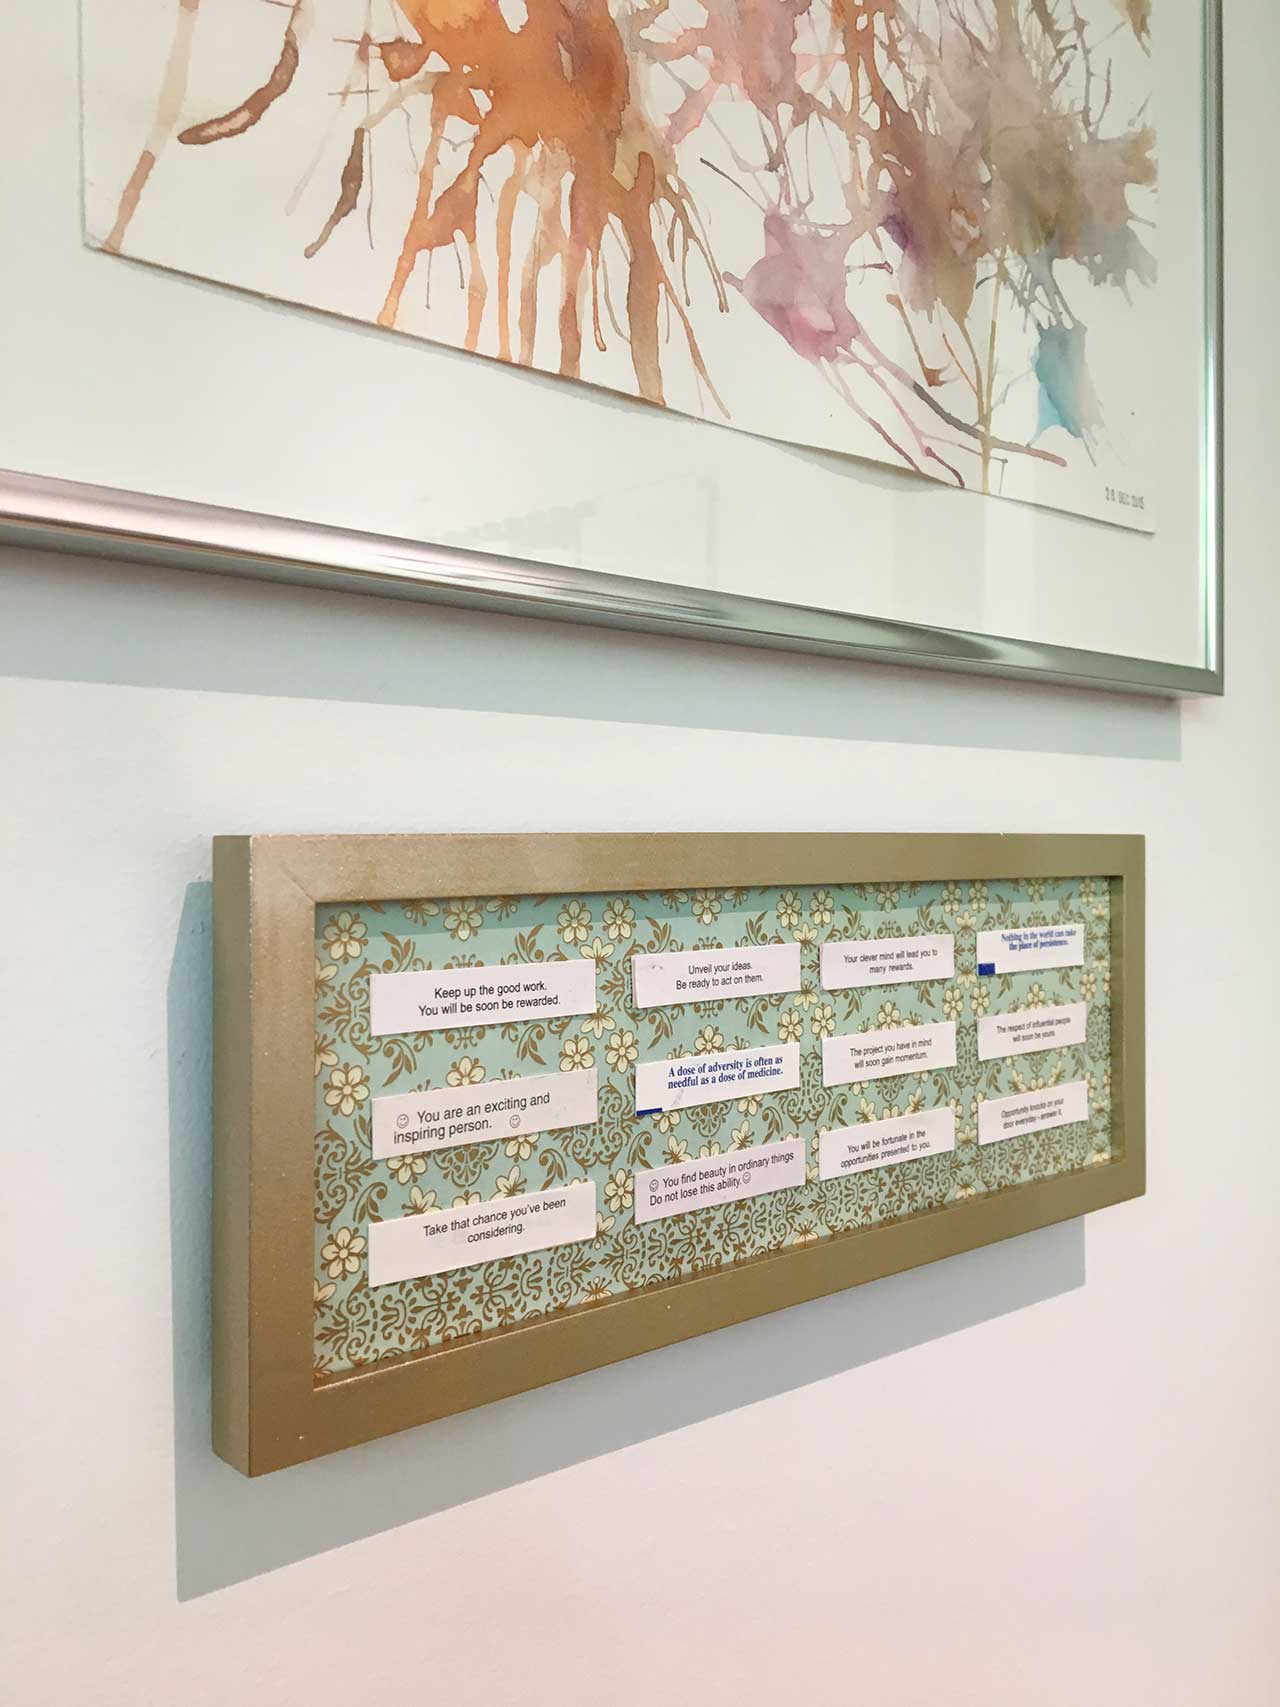
After inserting it back into the frame, I was all done and ready to hang.

finished4

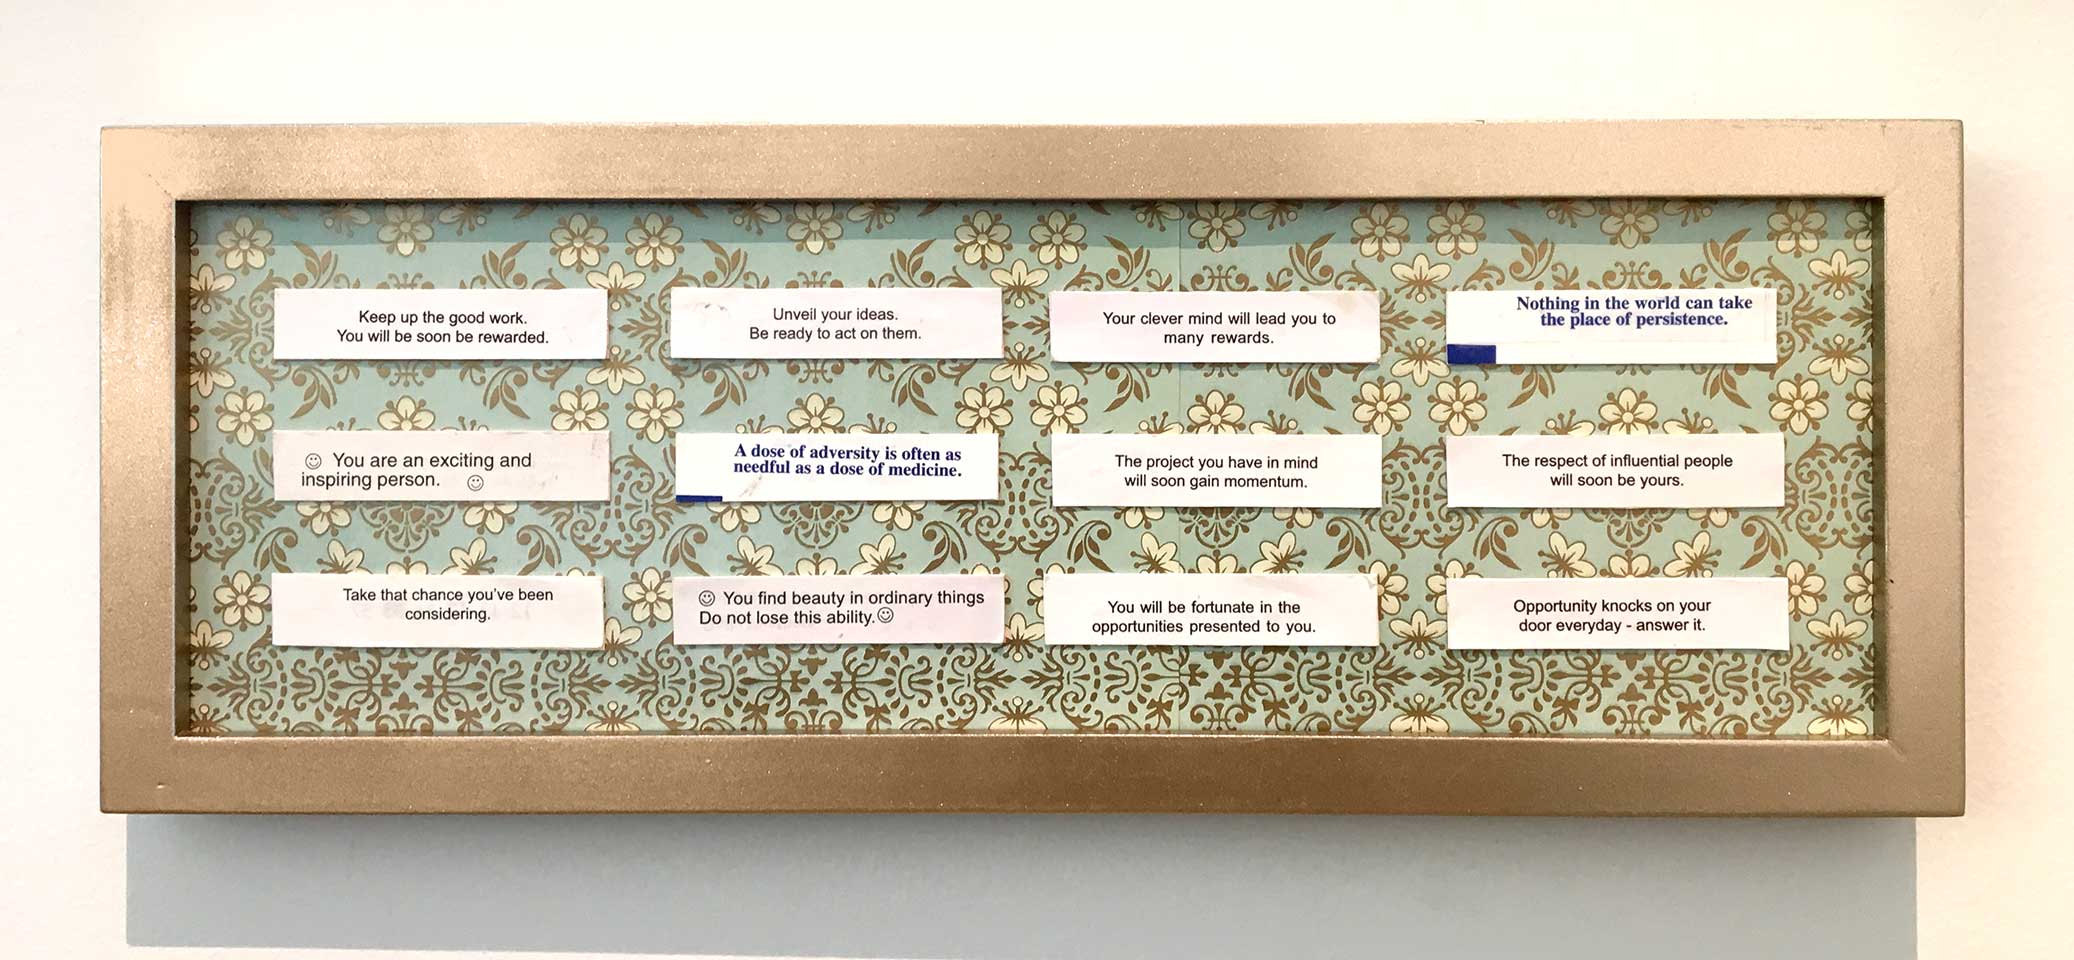
I think it looks really lovely. Some nice daily affirmations of positivity.

finished3finished1finished5

And maybe give a Chinese food craving as well :).

Marbled Clay Erasers

While visiting New York last weekend, my sister and I took our annual pilgrimage to Five Below. We don’t have them on the West Coast so I like to make a stop there when I’m visiting. Just like my sister needs her annual visit to Daiso here in California. Five Below has some fun crafts supplies, one of them being eraser clay (you can also find a set on Amazon)…

clay

Keep on reading…

Mini Mug Makes “Anime Characters”

Because I have been unsuccessful with balancing traveling, the consulting work I’ve been getting (yay) and the blog – I’m riding Mini Mug’s creative coat tails for this post…

Over the course of the past 2 days she has created not one, not 2, but 9 different drawings that she calls her Anime characters. As you can see for yourself, they are so fun and creative.

She has a story for each (or the beginning of stories), such as Starlight and Stary are sisters, and Stary’s hair accessories have magical powers.

She is in the process of coloring them in now, but – if I can find the time, I’d LOVE to trace them in Illustrator and color them (based on her choices, of course). Maybe we’ll even animate them and she can bring her stories to life.

Like I said, super fun and creative. At least one of us currently is :).


Polymer Clay Heart Bracelets

I wanted to make Mini Mug something special for Valentine’s Day, something that I would also make for myself. You see, I will be traveling on Valentine’s Day and won’t be with Mr. or Mini Mug. So I thought a pair of bracelets could be fun. She’ll know I’m thinking of her when I am wearing it during my travels. I thought about making Mr. Mug one as well, but I think he’ll be fine with a phone call.
Keep on reading!

Craft Foam Heart Garland

I wanted to create a garland for Valentine’s Day decor, in the vain of my bat origami garland  – something that Mr. Mug might not be offended by from an aesthetics standpoint, and would be modern and fun at the same time. I am also a fan of the craft foam sheets you can purchase at Michael’s or similar. They cut so clean and there is something satisfying about working with them.
Keep on reading!